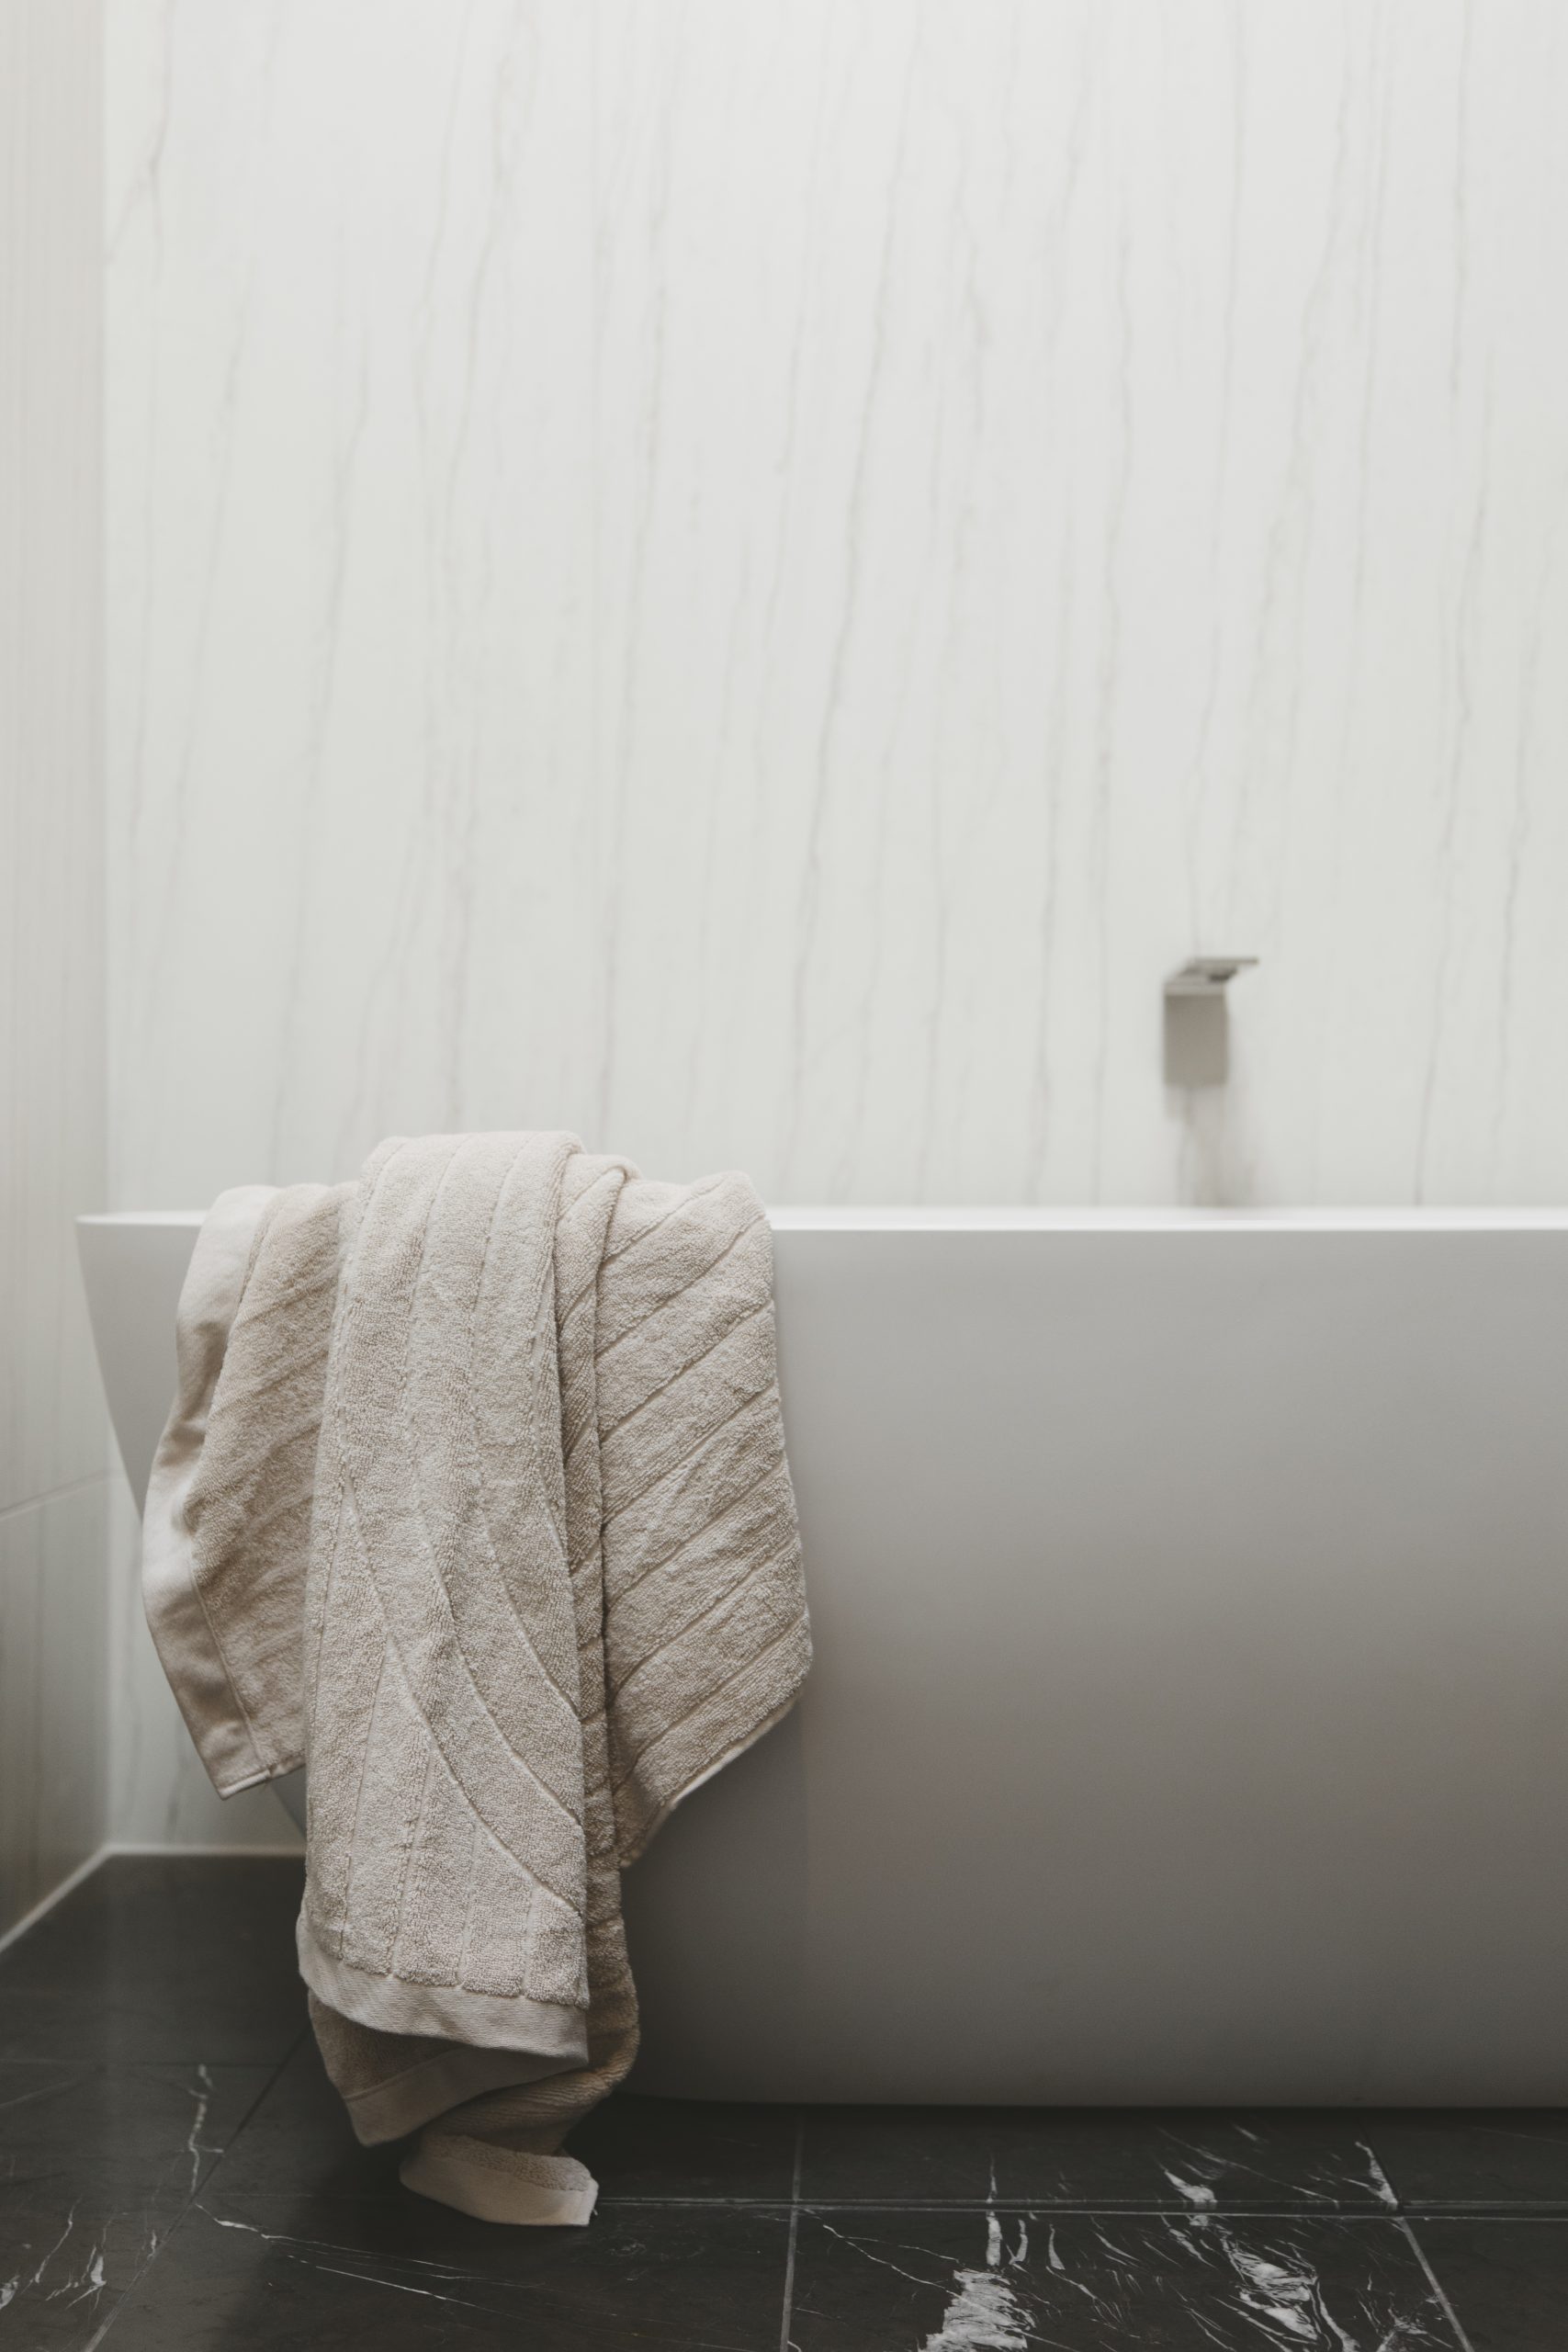
A stone freestanding bath is a unique focal feature in the bathroom.
It will certainly elevate a bathroom into a luxurious retreat and its stunning composition and depth gives home owners the ultimate bathing experience.
But there may be some questions around the transportation and installation of a beautiful, heavy-duty fixture.
This post will offer useful hints to ensure the installation of a freestanding stone bath is smooth for all involved.
Tips to know before purchasing your Stone Freestanding Bath
- Freestanding stone baths are not light and thus will need extra hands to make light work when taking delivery of the bath and moving it into position.
- Installing a stone freestanding bath must be done by a licensed plumber.
- Waste and water measurements will need to be precise to ensure a smooth installation process. (more detail is given below to assist plumbers with their choice of fittings for connection)
- Please note KASKADE’s caution on their drawings – Dimensions in our drawings have been provided by the factory to their best knowledge and belief; we recommend awaiting delivery of the product to ensure complete accuracy. KASKADE will accept no responsibility for consequential loss if reliance is placed on dimensions in this drawing.
Delivery and moving into place
A stone freestanding bath can be delivered to a driveway or kerb if the customer and/or contractor is unable to pick up from the plumbing supplier.
Ensure there are tradespeople onsite to take delivery of the bath.
Delivery of the bath to driveway (or kerb if offloading on the driveway is not possible) is done using a power tail gate; accordingly off loading is easy; only the customer or his/her representative need be there simply to sign. What happens then – if the pallet jack has a firm, smooth and level surface to operate on, a polite request to the driver is likely to result in him wheeling it into a garage but note he is not obliged to move the bath these few extra yards.
Getting the bath into the bathroom is normally handled by the tradespeople on site.
Waste Installation – New Build and Renovations
Bathrooms with freestanding stone baths will make the bath the front and focal feature of the bathroom. It’s so important for the home owner to work with their designer, builder and plumber to ensure the following:
- The bath is located in an area of the bathroom where there is space for the bath edges to not touch adjacent walls and ensure ease of cleanliness around the bath. (designer)
- The floor is structurally sound to hold the weight of the bath. (builder)
- The waste is central to the bath and water point is in a position where the bath and tapware look aesthetically balanced. (plumber and designer)
Plumbers are experienced with using plumbdingers and flexible connectors when installing freestanding baths. They are available at most reputable plumbing supply stores.
Choosing the right one will be key for the installation of your freestanding stone bath.
Refer to the installation manual for your Kaskade Freestanding Stone Bath to know what void is available under your chosen bath.
The height of the void (the area between the floor and the underside of the bath) varies from bath to bath even within our range – ensure your plumber or builder is aware of this height.
You will also need to check if the selected fitting can be installed in your local shire.
Useful Installation Tips for Plumbers
Take careful note of the co-ordinates of the waste position. Often, they are centre to the bath but not always. It is paramount to measure from the waste to all adjacent walls to ensure its correct placement. Allowance also needs to be made for the floor bed and floor tile thickness.
For new builds, the waste can be measured and installed accordingly.
For second level installs, a core hole will need to be precise for the waste installation.
For renovations, the waste will need to be chased or sawcut in the slab to the correct position.
For slab on ground construction, the V-75-DFK Plumbdinger is ideal, especially when the space below the bath is limited.
The original plumbdinger can work with a minimum height of 85mm between waste outlet and floor.
The Bath Bend Pop Up® with connector from Art Plastics can be a useful product when the clearance in the void is only 77mm.
Tips from a Plumber’s Experience when Installing a Stone Freestanding Bath
Kimberley of Hey Sista Plumbing who has installed a few stone baths feels experience and extra hands are key to ensuring a hassle-free installation.
Where possible, install the bath waste directly underneath the bath outlet. This prevents having to rely on offset connections. The stone bath will have a void underneath so you are able to use a flexible connection – like one of the fittings outlined above, to connect the waste.
It’s important to water test many times before sealing the stone bath to the floor with a sanitary grade silicone.
Levelling the stone bath
Most of Kaskade stone freestanding baths have adjustable legs to ensure a seamless installation for levelling. These legs should be adjusted such that the bath sits 3mm above the floor.
The leveling of the bath should be done before the waste is installed.
Once the waste has been installed, use a sanitary grade sealant to seal the base of the bath to the tiled floor. Client will need to be told there will be a minimum 12 hour wait before using their bath.
The installation of a freestanding stone bath will require methodical precision from all trades involved. But once it has been installed, it truly makes the bathroom an opulent space to admire. And it will certainly be a bathroom to include on your project gallery.